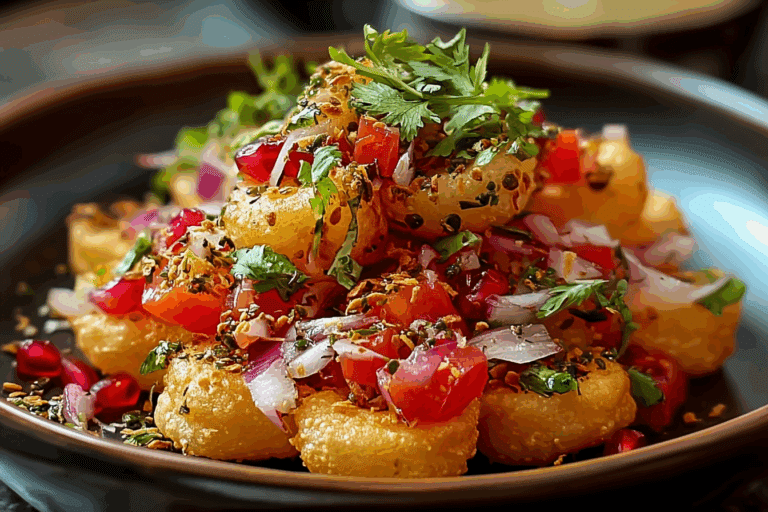
Broccoli Cheese Balls
There is something about crispy little bites that makes everyone gather around the table just a little faster. These broccoli cheese balls bring that exact energy, warm, golden, and filled with a soft, cheesy center that feels like pure comfort. The moment you break one open and see that melted cheese stretching with bits of tender broccoli, you just know you are in for something special. Trust me, you’re going to love this.
Why These Crispy Bites Always Steal the Show
It starts with that perfect contrast. A crunchy outer layer that gives way to a creamy, cheesy filling with just enough texture from the broccoli. Each bite feels balanced, not too heavy, not too light. They work as a snack, an appetizer, or even a quick lunch when you just want something satisfying without too much effort. And honestly, once you make them, they tend to disappear fast.
A Little Backstory Behind This Comfort Classic
Dishes like this often come from the idea of making vegetables more fun and approachable. Combining cheese with vegetables has been around for generations, especially in family kitchens where getting everyone to enjoy greens was a small victory. Over time, these bites became a favorite at gatherings and parties, evolving into the crispy, cheesy treats we know today.
Why This Recipe Just Works Every Time
This is one of those recipes you keep coming back to because it never lets you down.
Versatile: You can serve these as snacks, appetizers, or even tuck them into wraps for a quick meal.
Budget-Friendly: The ingredients are simple and easy to find, which keeps things affordable.
Quick and Easy: The process is straightforward and does not require complicated techniques.
Customizable: You can tweak the seasoning or cheese type to suit your taste.
Crowd-Pleasing: Kids and adults both enjoy these, no convincing needed.
Make-Ahead Friendly: You can prepare them in advance and cook when needed.
Great for Leftovers: They reheat beautifully and still taste amazing.
Pro Tips That Make All the Difference
Once you have the basics down, a few small tricks can take these to the next level.
- Make sure the broccoli is finely chopped so the mixture holds together well
- Chill the mixture slightly before shaping for easier handling
- Do not overcrowd the pan, it helps them cook evenly
- Use medium heat to avoid burning the outside before the inside warms through
Kitchen Tools That Make It Easy
Before diving in, having the right tools nearby makes everything smoother.
Mixing Bowl: For combining all the ingredients evenly.
Knife and Cutting Board: To finely chop the broccoli into small pieces.
Spoon or Scoop: Helps portion the mixture evenly.
Baking Tray or Pan: Depending on your cooking method, for even cooking.
Parchment Paper: Prevents sticking and keeps cleanup easy.
Ingredients You Will Need For This Recipe
Everything comes together with simple ingredients that complement each other perfectly.
- Broccoli: 2 cups finely chopped, adds freshness and texture
- Cheddar Cheese: 1 cup shredded, brings rich flavor and meltiness
- Cream Cheese: 4 oz softened, helps bind and adds creaminess
- Breadcrumbs: 1 cup, gives structure and that crispy exterior
- Eggs: 2 large, act as the binding agent
- Garlic Powder: 1 teaspoon, adds a subtle savory depth
- Onion Powder: 1 teaspoon, enhances overall flavor
- Salt: 1/2 teaspoon, balances the taste
- Black Pepper: 1/4 teaspoon, adds a gentle kick
- Olive Oil: 2 tablespoons, used for cooking and crisping
Easy Swaps If You Need Them
Sometimes you work with what you have, and that is perfectly fine.
Cheddar Cheese: Mozzarella or a mixed cheese blend.
Breadcrumbs: Crushed crackers or panko.
Cream Cheese: Ricotta for a lighter texture.
Olive Oil: Any neutral cooking oil.
Spotlight on Flavor Heroes
A couple of ingredients really shine here.
Broccoli: It adds a fresh, slightly earthy taste that balances the richness.
Cheddar Cheese: This is where that bold, comforting flavor comes from.
Let’s Get Cooking
Now let’s bring everything together, step by step.
- Preheat Your Equipment: Preheat your oven to 200°C or heat a pan with olive oil over medium heat.
- Combine Ingredients: In a large bowl, mix the chopped broccoli, cheddar cheese, cream cheese, breadcrumbs, eggs, garlic powder, onion powder, salt, and black pepper until well combined.
- Prepare Your Cooking Vessel: Line a baking tray with parchment paper or lightly grease your pan with olive oil.
- Assemble the Dish: Scoop small portions and roll them into balls, placing them evenly on the tray or preparing them for the pan.
- Cook to Perfection: Bake for 20 minutes until golden or cook in the pan, turning occasionally, until all sides are crisp and browned.
- Finishing Touches: Let them cool slightly so the inside sets just enough while staying soft.
- Serve and Enjoy: Serve warm and enjoy that crispy outside with a creamy, cheesy center.
The Magic of Texture and Flavor
What makes these bites so satisfying is the contrast. The outside crisps up beautifully while the inside stays soft and creamy. The cheese melts into the broccoli, creating a rich filling that feels comforting without being too heavy. Each bite delivers that perfect balance of crunch and smoothness.
Helpful Cooking Tips You’ll Appreciate
Getting the best results is easier with a few helpful tips.
- Use fresh broccoli for the best flavor
- Do not skip seasoning, it really makes a difference
- Keep the balls evenly sized for consistent cooking
- Let them rest briefly before serving for better texture
What to Avoid While Making This Recipe
Even simple recipes can go wrong without a little attention.
- Overcrowding the pan can lead to uneven cooking
- Using large broccoli pieces can make shaping difficult
- Skipping the binding ingredients may cause them to fall apart
- Cooking on high heat can burn the outside too quickly
Nutrition Facts You Should Know
Servings: 4
Calories per serving: 280
Note: These are approximate values.
Time Breakdown for This Recipe
Prep Time: 15 minutes
Cook Time: 20 minutes
Total Time: 35 minutes
Make-Ahead and Storage Tips
You can prepare the mixture ahead of time and store it in the fridge for up to a day. Shaped balls can also be refrigerated before cooking. Once cooked, store leftovers in an airtight container in the fridge for up to three days. Reheat in the oven or a pan to keep them crispy. They can also be frozen and reheated later.
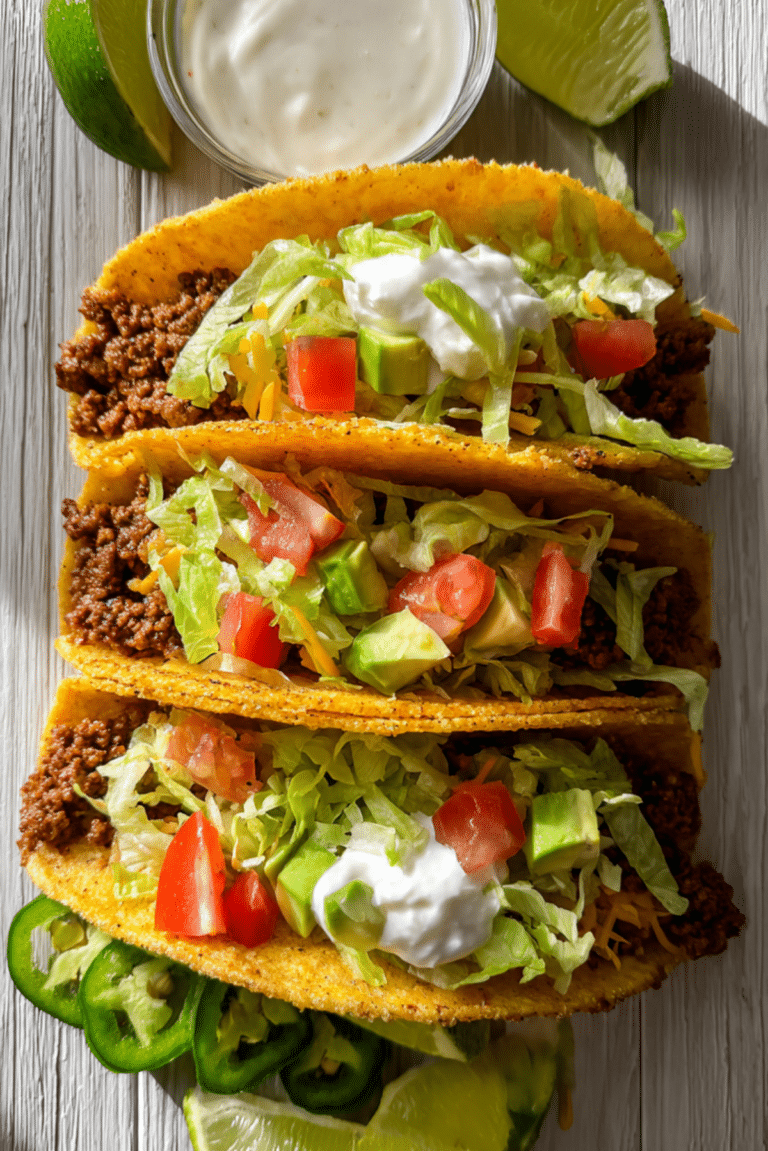
Serving Ideas That Work Every Time
These are perfect on their own, but they also pair nicely with dips like yogurt sauce or a simple tomato dip. You can serve them alongside a fresh salad or even tuck them into wraps for a quick meal.
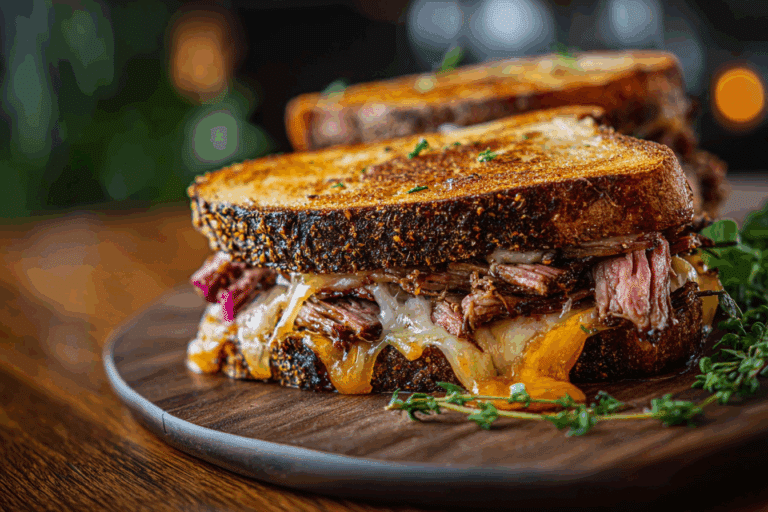
Creative Ways to Use Leftovers
Leftovers can be turned into something new and exciting.
Try adding them to a sandwich, chopping them into a salad, or even mixing them into pasta for a quick twist.
Extra Tips for Better Results
A little extra care can go a long way.
Keep your ingredients fresh, taste the mixture before shaping, and adjust seasoning if needed. It is those small touches that make everything come together perfectly.
Make It Look as Good as It Tastes
Serve these on a clean white plate with a simple dip on the side. The golden color pops beautifully, and a sprinkle of herbs can add a fresh touch.
Variations to Try Next Time
You can easily switch things up depending on your mood.
Try adding chili flakes for heat, using a different cheese for a new flavor, mixing in herbs, or even adding finely chopped vegetables for extra texture.
FAQ’s
1. Can I bake instead of frying?
Yes, baking works great and gives a lighter result.
2. Can I freeze them?
Yes, freeze before or after cooking and reheat when needed.
3. How do I keep them from falling apart?
Make sure the mixture is well combined and includes enough binding ingredients.
4. Can I use frozen broccoli?
Yes, just make sure it is thawed and drained well.
5. What cheese works best?
Cheddar is classic, but other melting cheeses also work well.
6. Can I make them gluten free?
Yes, use gluten free breadcrumbs.
7. How do I reheat them?
Use an oven or pan to keep them crispy.
8. Can I air fry them?
Yes, air frying gives a great crispy texture.
9. Are they kid friendly?
Absolutely, they are a great way to enjoy vegetables.
10. Can I add spices?
Yes, adjust seasoning to your taste.
Conclusion
These broccoli cheese balls are one of those recipes you will come back to again and again. They are simple, satisfying, and packed with flavor in every bite. Whether you are making them for a gathering or just for yourself, they deliver every time. Let me tell you, it’s worth every bite.
Print
Broccoli Cheese Balls
- Total Time: 40 minutes
- Yield: 4 servings
- Diet: Low Lactose
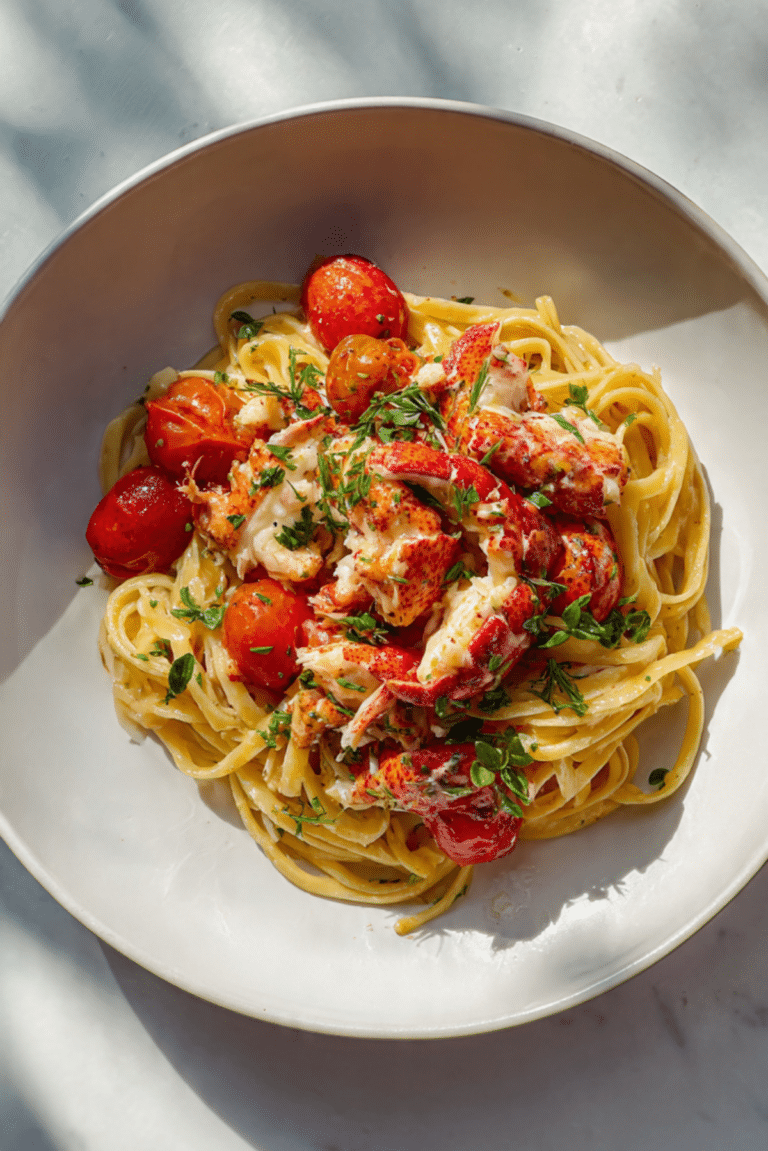
Description
Tender lobster bites cooked in rich garlic butter, served with a smooth and creamy saffron mash that feels elegant yet comforting.
Ingredients
- 500 grams lobster meat, cut into bite-sized pieces
- 4 tablespoons unsalted butter
- 4 garlic cloves, minced
- 2 tablespoons fresh parsley, chopped
- 1 teaspoon saffron threads
- 4 medium potatoes, peeled
- 1/2 cup heavy cream
- 1 teaspoon salt
- 1/2 teaspoon black pepper
- 1 whole lemon, cut into wedges
Instructions
- Preheat a large skillet over medium heat and bring a pot of salted water to a boil.
- Add saffron threads to warm heavy cream and let them infuse for a few minutes.
- Boil the peeled potatoes until fork tender, then drain them well.
- Mash the potatoes and mix in the saffron cream, 1 tablespoon butter, salt, and pepper until smooth.
- In the skillet, melt the remaining butter and sauté the minced garlic until fragrant.
- Add the lobster pieces and cook for 3 to 4 minutes until just opaque and tender.
- Sprinkle chopped parsley over the lobster and squeeze fresh lemon juice on top.
- Serve the lobster bites alongside or over the saffron mash while warm.
Notes
- Do not overcook the lobster to keep it tender and juicy
- Use warm cream when mixing the mash for a smoother texture
- Let saffron bloom properly to enhance flavor and color
- Adjust seasoning right before serving for best taste
- Prep Time: 20 minutes
- Cook Time: 20 minutes
- Category: Main Course
- Method: Stovetop
- Cuisine: Fusion
Nutrition
- Serving Size: 1 serving
- Calories: 420
- Sugar: 3g
- Sodium: 520mg
- Fat: 24g
- Saturated Fat: 14g
- Unsaturated Fat: 8g
- Trans Fat: 0g
- Carbohydrates: 28g
- Fiber: 3g
- Protein: 22g
- Cholesterol: 110mg