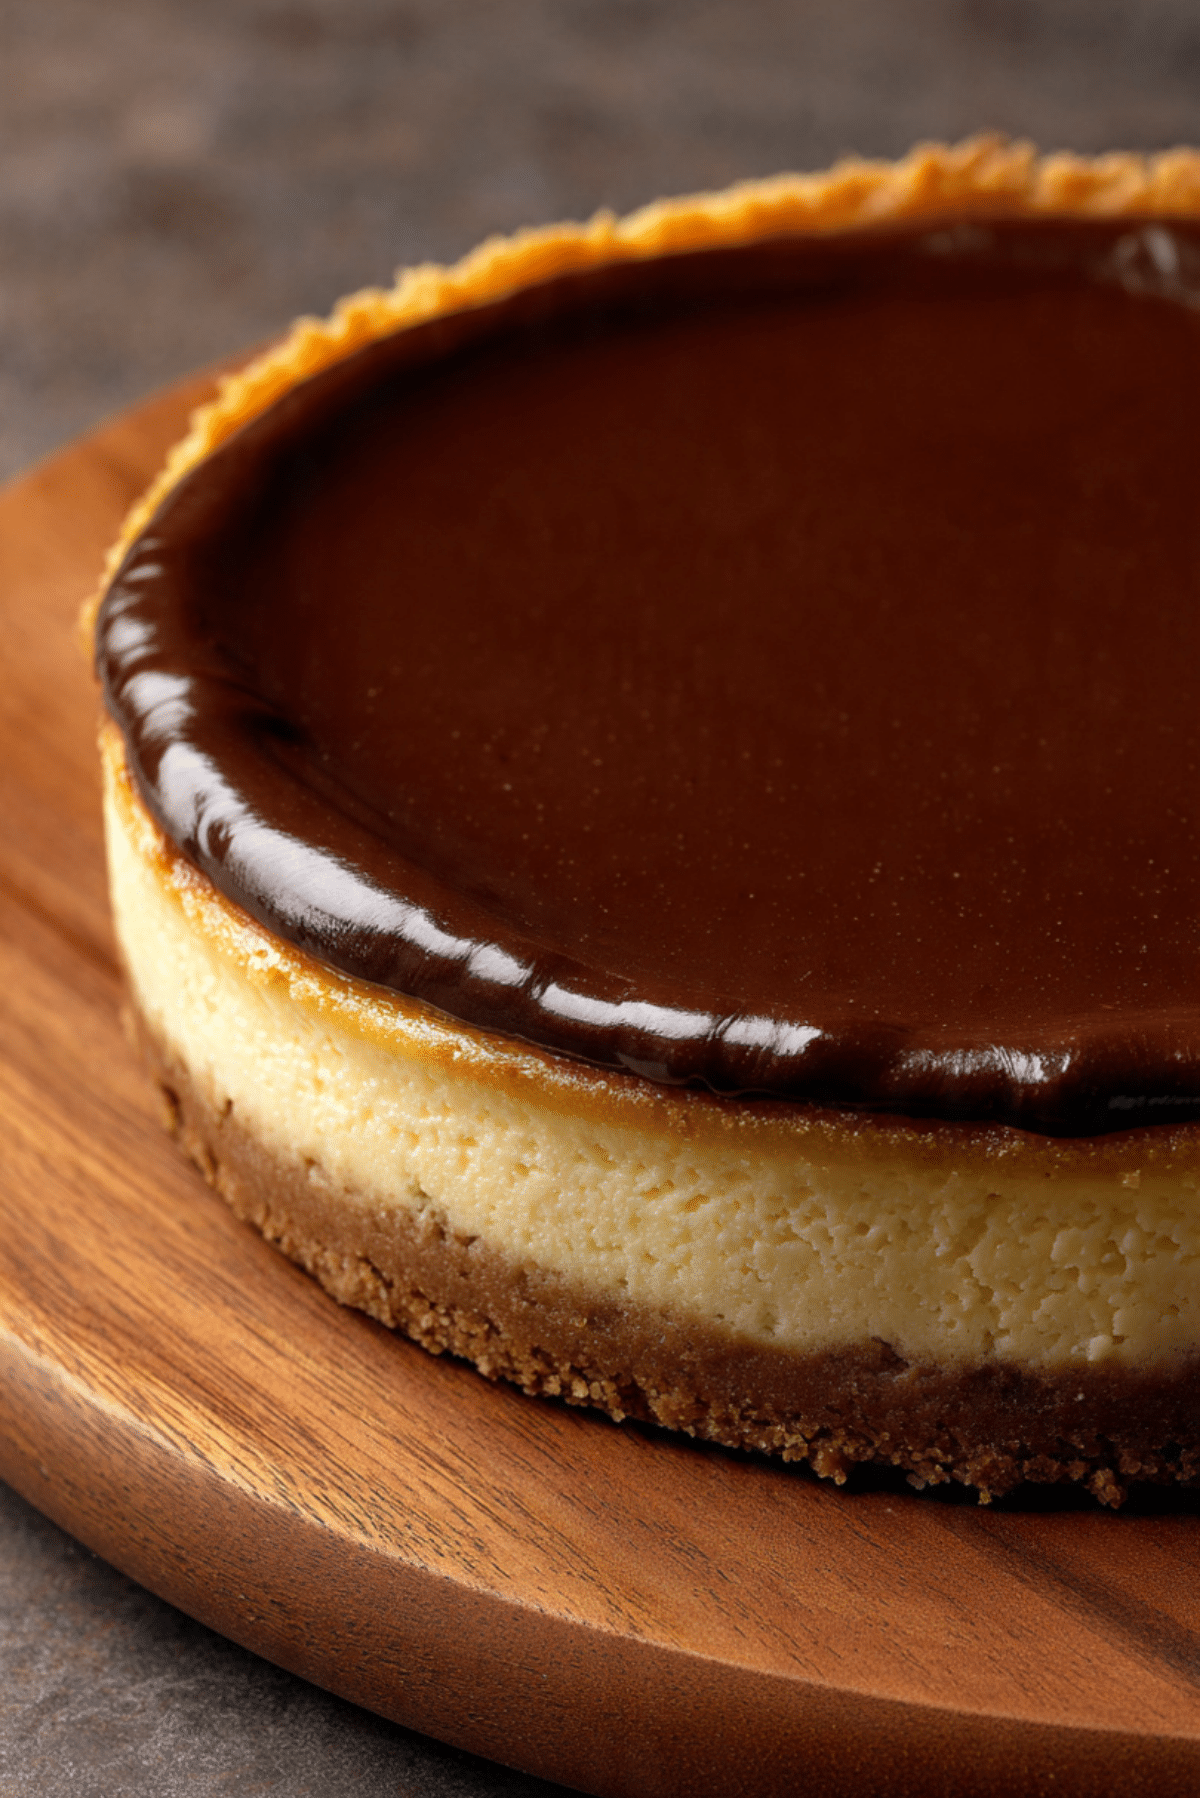
No-Bake Baileys Cheesecake
There is something quietly magical about a dessert that comes together without ever turning on the oven. This one feels like a little secret you get to keep, rich, creamy, and just indulgent enough to make any ordinary day feel special. The first bite is silky and smooth, with a gentle cocoa warmth that melts into the buttery crunch of the base. Trust me, you’re going to love this.
A Creamy Dessert That Feels Like Pure Indulgence
And now as we settle into what makes this cheesecake so irresistible, you start to notice how every layer plays its part. The base brings that familiar crumbly texture, while the filling feels like a cloud that somehow became dessert. There is a soft chocolate note that lingers just enough, never overpowering, just inviting you in for another bite.
This one’s a total game-changer when you want something impressive without the stress.
A Little Story Behind This No-Bake Favorite
And now let’s take a quick step back and see where this style of dessert comes from. No-bake cheesecakes became popular as a simpler alternative to traditional baked versions, especially in home kitchens where convenience mattered just as much as flavor.
The idea of adding a creamy chocolate twist brings a modern touch, blending classic cheesecake texture with dessert flavors people already love. Over time, it has become a go-to for celebrations, casual dinners, and everything in between.
Why This Recipe Always Works
And now that you know where it comes from, let’s talk about why this version is one you can rely on every single time.
Versatile: You can dress it up with toppings or keep it simple, it adapts to any occasion beautifully.
Budget-Friendly: The ingredients are straightforward and easy to find, making it accessible without sacrificing taste.
Quick and Easy: No oven, no complicated steps, just mix, chill, and enjoy.
Customizable: You can adjust sweetness, add toppings, or even change the base to suit your taste.
Crowd-Pleasing: Creamy, chocolatey, and satisfying, it is hard to find someone who does not enjoy a slice.
Make-Ahead Friendly: It actually gets better as it chills, which makes it perfect for planning ahead.
Great for Leftovers: The texture holds beautifully, so every slice tastes just as good the next day.
Chef’s Secrets for the Perfect Texture
Before we dive into the kitchen, let me share a few little tricks that make all the difference.
- Use full-fat cream cheese for the creamiest result
- Whip the cream until soft peaks form, not too stiff
- Fold gently to keep the mixture light and airy
- Chill long enough so the cheesecake sets properly
Tools That Make It Effortless
And now let’s get your setup ready so everything flows smoothly.
Springform Pan: Makes it easy to release the cheesecake cleanly.
Mixing Bowls: You will need separate bowls for different steps.
Hand Mixer or Whisk: Helps achieve that smooth, fluffy texture.
Spatula: Perfect for folding and spreading evenly.
Measuring Cups and Spoons: Keeps everything precise and balanced.
Ingredients That Come Together Beautifully
Now we reach the heart of it, where every ingredient plays its role in building flavor and texture.
- Digestive Biscuits: 200 grams, crushed, these create the buttery base.
- Melted Butter: 100 grams, binds the base and adds richness.
- Cream Cheese: 500 grams, the creamy foundation of the filling.
- Heavy Cream: 300 ml, whipped to give the cheesecake its light texture.
- Powdered Sugar: 120 grams, adds smooth sweetness without graininess.
- Cocoa Powder: 2 tablespoons, brings a subtle chocolate depth.
- Chocolate Shavings: 50 grams, used for topping and added texture.
Easy Swaps If You Need Them
And if you feel like adjusting things, here are some simple swaps.
Digestive Biscuits: Graham crackers or any plain biscuits.
Butter: Margarine or plant-based butter alternative.
Heavy Cream: Whipping cream works just as well.
Powdered Sugar: Fine caster sugar, blended if needed.
Spotlight on Key Ingredients
Let’s take a closer look at what truly makes this dessert shine.
Cream Cheese: This is where the silky texture comes from, smooth and rich, it forms the backbone of the filling.
Cocoa Powder: Adds that gentle chocolate note that balances the sweetness perfectly.
Let’s Put It All Together
And now let’s dive into the process, step by step, like we are making it side by side.
- Preheat Your Equipment: No oven needed, but prepare a springform pan by lining the base with parchment paper.
- Combine Ingredients: Mix the crushed biscuits with melted butter until evenly coated.
- Prepare Your Cooking Vessel: Press the mixture firmly into the base of the pan and chill for 20 minutes.
- Assemble the Dish: Beat cream cheese and powdered sugar until smooth, then mix in cocoa powder. In another bowl, whip the heavy cream and gently fold it into the mixture.
- Cook to Perfection: Spread the filling over the chilled base, smoothing the top evenly. Refrigerate for at least 4 hours until set.
- Finishing Touches: Sprinkle chocolate shavings over the top for a simple but elegant finish.
- Serve and Enjoy: Slice carefully and serve chilled for the best texture and flavor.
The Texture and Flavor Experience
As it sets, something wonderful happens. The filling becomes firm yet creamy, almost mousse-like, while the base stays slightly crumbly for contrast. Each bite balances sweetness with a hint of cocoa, creating a dessert that feels rich but not overwhelming.
Helpful Tips to Get It Just Right
If you want to make it even better, keep these in mind.
- Chill overnight for the best consistency
- Use a warm knife for clean slices
- Do not overmix after adding whipped cream
What to Watch Out For
Even simple recipes have their little pitfalls, but they are easy to avoid.
- Overmixing can make the filling dense, fold gently instead
- Not chilling long enough can cause it to collapse
- Pressing the base too loosely will make it crumble when slicing
Nutrition Snapshot
Servings: 8
Calories per serving: 420
Note: These are approximate values.
Time Breakdown
Prep Time: 25 minutes
Cook Time: 0 minutes
Total Time: 4 hours 25 minutes
Make-Ahead and Storage Tips
This dessert truly shines when made ahead. You can prepare it a day in advance and keep it refrigerated until serving. Store leftovers covered in the fridge for up to three days. Freezing is also an option, just wrap slices well and thaw in the fridge before serving.
Serving Ideas That Elevate It
Serve each slice with a light dusting of cocoa powder or a few extra chocolate shavings. Fresh berries on the side can add a bright contrast that makes every bite pop.
Creative Ways to Use Leftovers
If you somehow have leftovers, here are a few fun ideas.
Turn slices into parfait layers with whipped cream and fruit, or crumble them into a dessert glass for a quick treat.
Extra Tips for Success
Keep ingredients at room temperature before mixing, it helps everything blend smoothly. Always taste the filling before setting, so you can adjust sweetness if needed.
Make It Look Stunning
Smooth the top with a spatula and add chocolate shavings in the center for a clean, elegant look. A simple presentation often feels the most inviting.
Fun Variations to Try
You can easily make this your own with a few tweaks.
- Add a chocolate ganache layer on top
- Mix in crushed cookies for extra texture
- Use a nut-based crust for a different flavor
- Add a hint of vanilla for extra depth
FAQ’s
Q1: Can I freeze this cheesecake?
Yes, it freezes well. Just thaw it in the fridge before serving.
Q2: How long does it need to chill?
At least 4 hours, but overnight is best.
Q3: Can I make it without cocoa powder?
Yes, you will get a classic vanilla-style cheesecake instead.
Q4: What if I do not have a springform pan?
You can use any pan, just line it well for easy removal.
Q5: Can I use low-fat cream cheese?
You can, but the texture may be less creamy.
Q6: How do I get clean slices?
Use a warm knife and wipe it between cuts.
Q7: Can I add fruit toppings?
Absolutely, berries work beautifully here.
Q8: Is it overly sweet?
No, the cocoa balances the sweetness nicely.
Q9: Can I make it gluten-free?
Yes, just use gluten-free biscuits for the base.
Q10: How long does it last in the fridge?
Up to three days when stored properly.
Conclusion
And there you have it, a dessert that feels both effortless and luxurious at the same time. It is creamy, comforting, and just the kind of treat that makes people pause after the first bite. Let me tell you, it’s worth every bite, and once you make it, it might just become your go-to favorite.
Print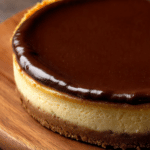
No-Bake Baileys Cheesecake
- Total Time: 4 hours 25 minutes
- Yield: 8 servings
- Diet: Vegetarian
Description
A rich and creamy no-bake cheesecake with a smooth chocolate flavor, layered over a buttery biscuit base and finished with delicate chocolate shavings.
Ingredients
- 200 grams digestive biscuits, crushed
- 100 grams melted butter
- 500 grams cream cheese
- 300 ml heavy cream
- 120 grams powdered sugar
- 2 tablespoons cocoa powder
- 50 grams chocolate shavings
Instructions
- Prepare a springform pan by lining the base with parchment paper.
- Mix the crushed digestive biscuits with melted butter until evenly combined.
- Press the mixture firmly into the base of the pan and refrigerate for 20 minutes.
- In a bowl, beat the cream cheese and powdered sugar until smooth, then mix in the cocoa powder.
- In another bowl, whip the heavy cream until soft peaks form.
- Gently fold the whipped cream into the cream cheese mixture until fully combined.
- Spread the filling evenly over the chilled base and smooth the top.
- Refrigerate for at least 4 hours until set.
- Top with chocolate shavings before serving.
- Slice and serve chilled.
Notes
- Chill overnight for best texture and flavor.
- Use a warm knife for clean slices.
- Do not overmix after adding whipped cream to keep the texture light.
- Prep Time: 25 minutes
- Cook Time: 0 minutes
- Category: Dessert
- Method: No-Bake
- Cuisine: International
Nutrition
- Serving Size: 1 slice
- Calories: 420
- Sugar: 22g
- Sodium: 210mg
- Fat: 30g
- Saturated Fat: 18g
- Unsaturated Fat: 10g
- Trans Fat: 0g
- Carbohydrates: 32g
- Fiber: 1g
- Protein: 5g
- Cholesterol: 90mg