Greek Yogurt Brownies
There is something magical about pulling a tray of brownies out of the oven, that rich chocolate aroma filling the kitchen, promising something indulgent and comforting. And now, imagine that same deep chocolate flavor paired with a soft, melt-in-your-mouth texture that feels just a little lighter, a little more balanced. That is exactly what you get here. Trust me, you’re going to love this. These brownies bring together creamy yogurt and cocoa in a way that feels both classic and surprisingly fresh, and once you take that first bite, it is hard to stop.
A Chocolate Treat That Feels Just Right
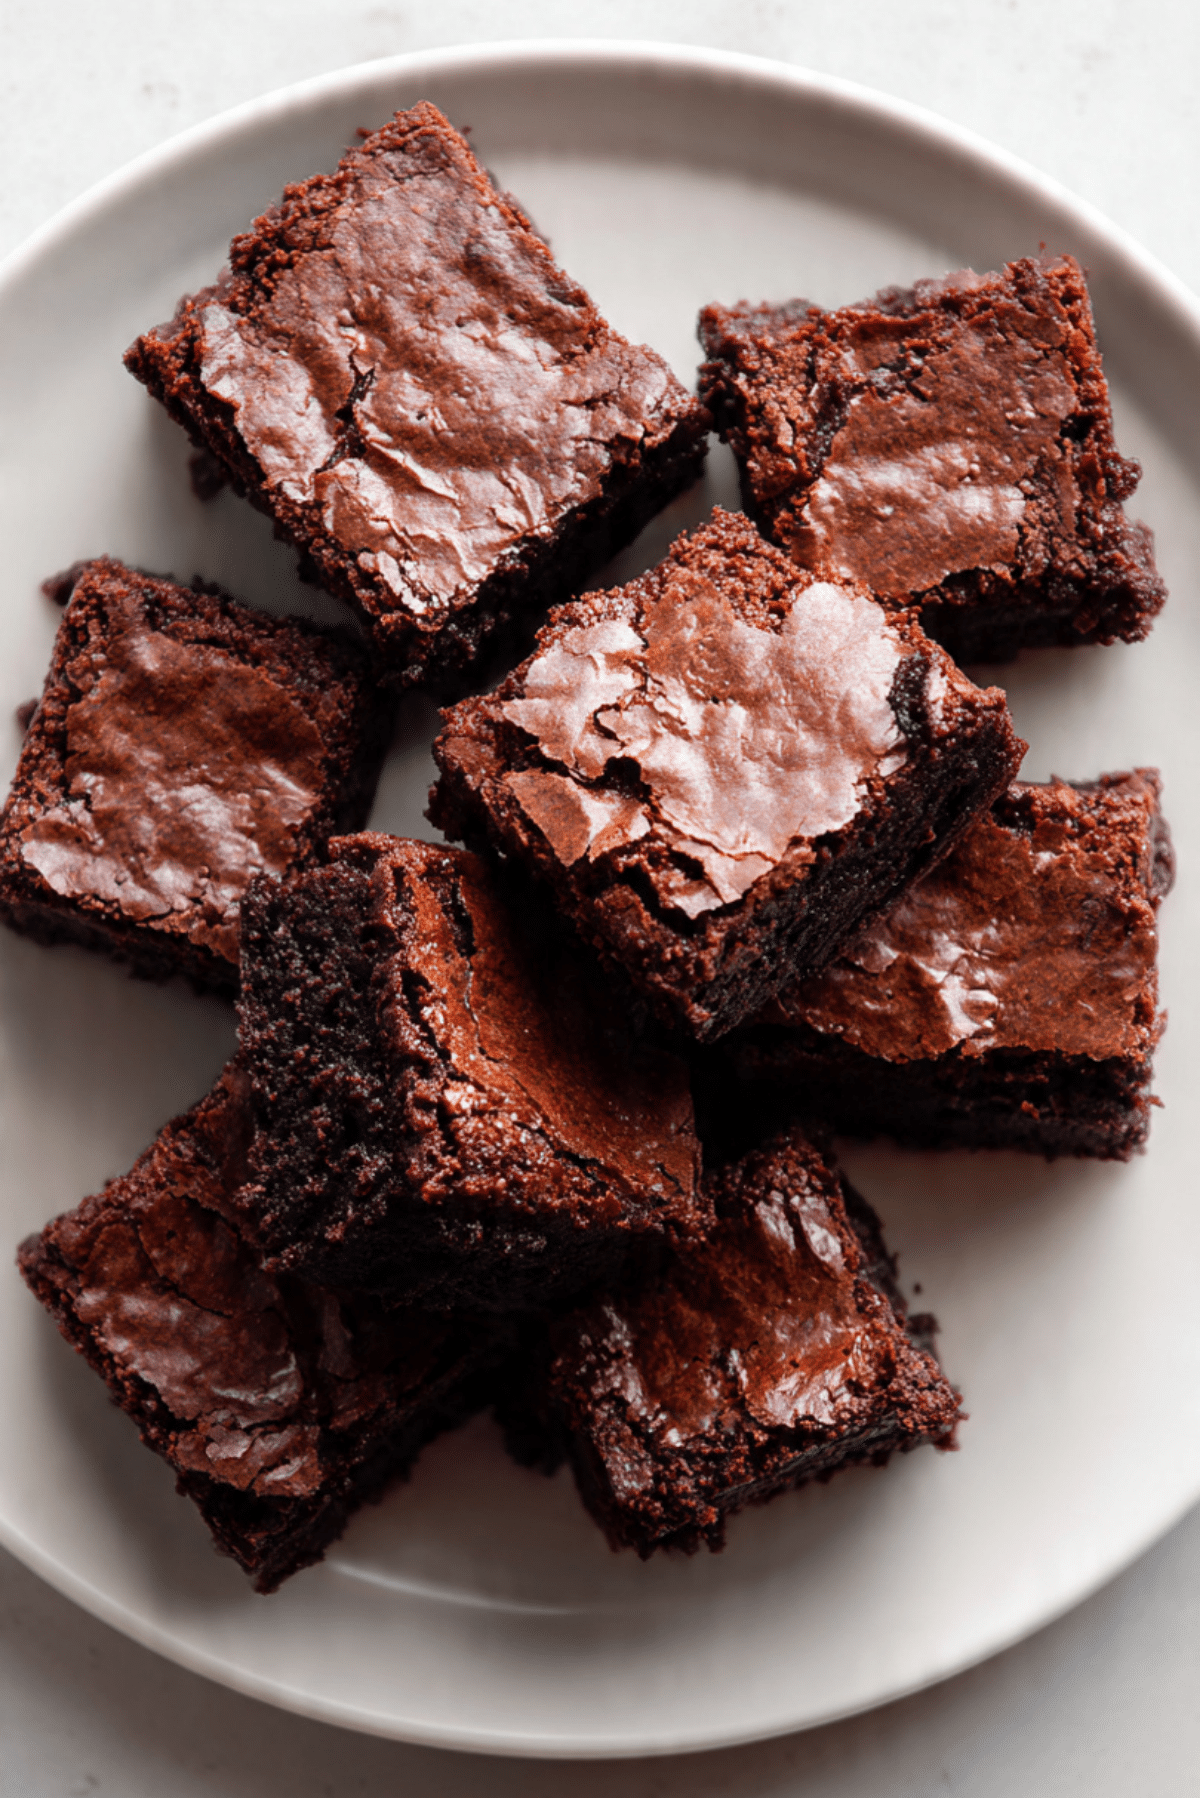
And now let’s dive into what makes these brownies so special. The texture is where it all begins. They are rich without being heavy, soft without falling apart, and every bite has that perfect balance between fudgy and tender. The yogurt adds a subtle tang that lifts the chocolate flavor, making each square taste deeper and more complex.
You also get that beautiful crackly top, the kind that gently breaks when you bite into it, revealing a moist interior packed with chocolate goodness. It is the kind of dessert that feels homemade in the best way possible, simple, honest, and incredibly satisfying.
A Little Story Behind This Modern Twist
As we keep going, it is fun to see how this version came to life. Brownies themselves have been around for over a century, originally created in the United States as a portable chocolate dessert. Over time, home bakers started experimenting, swapping ingredients to create different textures and flavors.
Using yogurt in baking became popular as people looked for ways to keep desserts moist while reducing heavy fats. Greek yogurt, with its thick and creamy texture, turned out to be a perfect fit. It adds richness while also bringing a slight tang that makes chocolate taste even more intense. This simple twist transformed a classic into something a bit more modern and surprisingly versatile.
Why You Will Keep Coming Back to This Recipe
Now that you know where it comes from, let me show you why this one is a keeper.
Versatile: You can enjoy these as a snack, dessert, or even a quick sweet bite with coffee. They fit into any moment.
Budget-Friendly: The ingredients are simple pantry staples, which means no expensive shopping trips.
Quick and Easy: The process is straightforward and does not require any special techniques.
Customizable: Add nuts, extra chocolate chips, or even a swirl of peanut butter if you feel creative.
Crowd-Pleasing: These disappear fast at gatherings, trust me on this one.
Make-Ahead Friendly: They stay moist for days, making them perfect for planning ahead.
Great for Leftovers: If you somehow have extras, they taste even better the next day.
A Few Insider Tips Before You Start
Before we move into the kitchen, here are a few little secrets that make a big difference.
- Use room temperature eggs for a smoother batter
- Do not overmix once the flour is added, this keeps the texture soft
- Slightly underbake if you love a fudgier center
- Let them cool completely before cutting for clean squares
Tools That Make Things Easier
Every good recipe flows better with the right tools, and this one is no exception.
Mixing Bowl: A medium bowl works perfectly for combining everything smoothly.
Whisk or Spatula: Helps create a lump-free batter without overworking it.
Baking Pan: An 8×8 inch pan gives you that ideal thickness.
Parchment Paper: Makes removing and slicing much easier.
Oven: Preheated properly for even baking.
Ingredients You Will Need For This Chocolate Delight
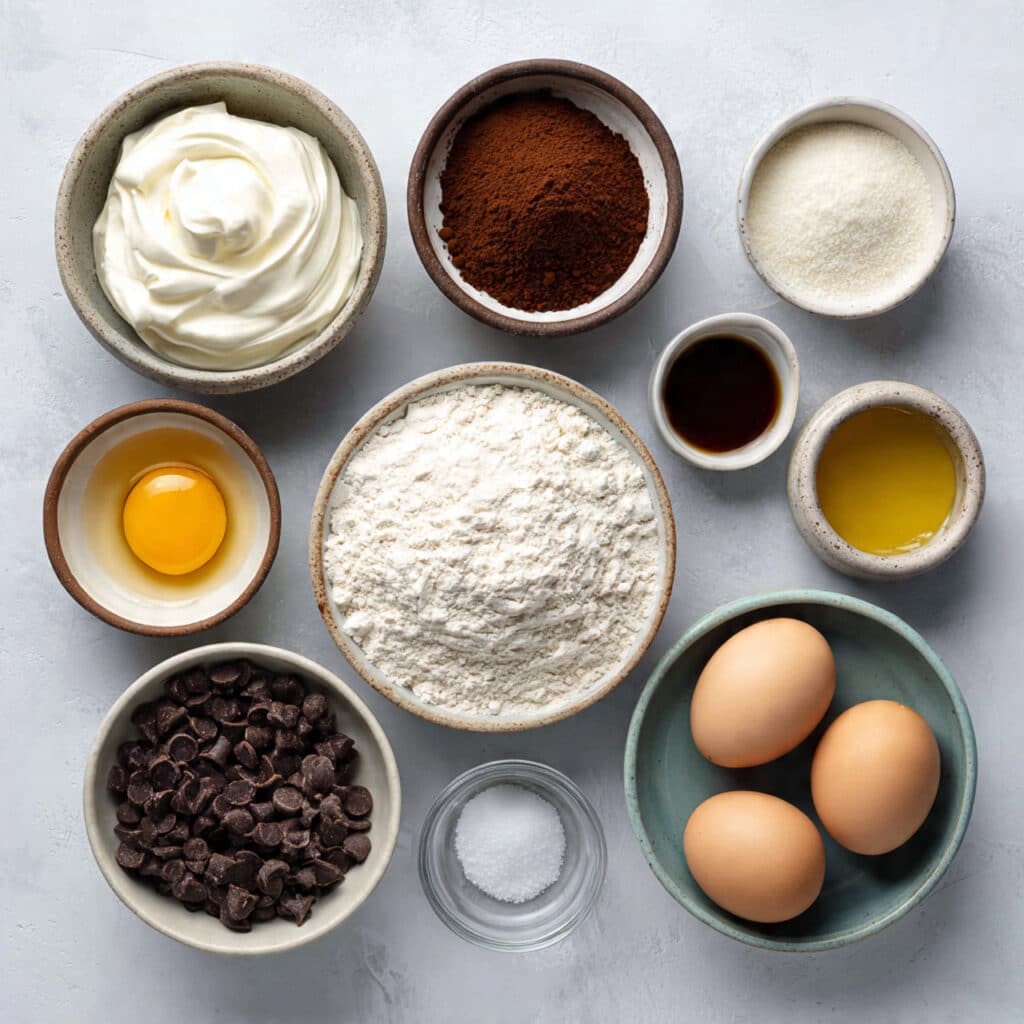
And now we get to the heart of it, where all the magic begins. Each ingredient plays its role in building flavor and texture.
- Greek Yogurt: 1 cup, brings moisture and a slight tang that enhances the chocolate
- All-Purpose Flour: 1 cup, gives structure without making the brownies dense
- Unsweetened Cocoa Powder: 1/2 cup, delivers deep chocolate flavor
- Granulated Sugar: 3/4 cup, balances the cocoa and adds sweetness
- Eggs: 2 large, help bind everything together and add richness
- Melted Butter: 1/2 cup, creates that soft and tender crumb
- Vanilla Extract: 1 teaspoon, adds warmth and depth
- Baking Powder: 1 teaspoon, gives a slight lift
- Salt: 1/4 teaspoon, enhances all the flavors
- Chocolate Chips: 1/2 cup, for pockets of melted chocolate in every bite
Easy Ingredient Swaps You Can Try
If you like experimenting, here are some simple substitutions.
All-Purpose Flour: Use whole wheat flour for a nuttier taste.
Butter: Swap with coconut oil for a slightly different flavor.
Sugar: Try brown sugar for a deeper, caramel-like sweetness.
Chocolate Chips: Use dark or milk chocolate depending on your preference.
The Stars of the Show
Before we cook, let’s highlight what truly makes this recipe shine.
Greek Yogurt: This is the secret ingredient that keeps everything moist while adding a subtle tang.
Cocoa Powder: It provides that bold, rich chocolate base that defines every bite.
Let’s Get Baking Together
Now comes the fun part, and honestly, this is where everything starts to come alive.
- Preheat Your Equipment: Set your oven to 180°C and line your baking pan with parchment paper.
- Combine Ingredients: In a bowl, whisk together yogurt, melted butter, sugar, eggs, and vanilla until smooth.
- Prepare Your Cooking Vessel: Make sure your lined pan is ready and lightly greased if needed.
- Assemble the Dish: Add flour, cocoa powder, baking powder, and salt into the wet mixture. Stir gently, then fold in chocolate chips.
- Cook to Perfection: Pour the batter into the pan and bake for 20 to 25 minutes until the center is just set.
- Finishing Touches: Let the brownies cool completely before slicing into squares.
- Serve and Enjoy: Cut, serve, and enjoy every rich, chocolatey bite.
The Texture and Flavor Journey
As they bake, something incredible happens. The edges set first, creating a slightly chewy border, while the center stays soft and fudgy. The cocoa deepens in flavor, and the chocolate chips melt into little pockets of richness.
When you take a bite, you get that contrast between the delicate top and the moist interior. The yogurt keeps everything tender, and the chocolate flavor feels bold but balanced.
Helpful Tips to Get It Just Right
- Let the batter rest for a few minutes before baking for better texture
- Use good quality cocoa powder for deeper flavor
- Do not overbake, the center should still feel slightly soft
Common Mistakes and How to Avoid Them
- Overmixing the batter, which can make the brownies tough
- Baking too long, which dries them out
- Cutting while hot, which leads to messy slices
Nutrition Snapshot
Servings: 9
Calories per serving: 210
Note: These are approximate values.
Time Breakdown for Easy Planning
Prep Time: 10 minutes
Cook Time: 25 minutes
Total Time: 35 minutes
Make-Ahead and Storage Tips
If you want to plan ahead, you absolutely can. These brownies stay fresh in an airtight container at room temperature for up to three days. You can also refrigerate them for up to a week, and they freeze beautifully for longer storage. Just thaw and enjoy when the craving hits.
Serving Ideas to Make Them Shine
Serve them slightly warm with a scoop of ice cream, or enjoy them as they are with a cup of coffee. You can even dust a little cocoa powder on top for an extra touch.
Creative Ways to Use Leftovers
Turn them into brownie parfaits by layering with yogurt and fruit, or crumble them over ice cream for a quick dessert upgrade.
Extra Tips for Even Better Results
Use parchment paper for easy removal, and always allow enough cooling time for the best texture.
Make It Look As Good As It Tastes
For a beautiful presentation, cut into even squares and arrange on a clean plate. A light dusting of cocoa or powdered sugar adds a simple but elegant finish.
Fun Variations to Try
Add chopped nuts for crunch, swirl in peanut butter for extra richness, or mix in white chocolate chips for contrast.
FAQ’s
1. Can I use regular yogurt instead of Greek yogurt?
Yes, but the texture may be slightly thinner and less rich.
2. How do I know when they are done?
The center should be set but still soft.
3. Can I make them gluten free?
Yes, use a gluten free flour blend.
4. Can I reduce the sugar?
You can slightly reduce it, but it may affect texture.
5. Why are my brownies dry?
They were likely overbaked.
6. Can I add nuts?
Absolutely, walnuts or almonds work well.
7. Can I double the recipe?
Yes, just use a larger pan and adjust baking time.
8. How should I store them?
Keep them in an airtight container.
9. Can I freeze them?
Yes, wrap tightly and freeze for up to three months.
10. Can I make them more fudgy?
Bake for a slightly shorter time.
Conclusion
And just like that, you have a tray of rich, chocolatey brownies that feel both comforting and a little special. This one’s a total game-changer, simple to make yet packed with flavor and texture that keeps you coming back for more. Let me tell you, it’s worth every bite.
Print
Greek Yogurt Brownies
- Total Time: 35 minutes
- Yield: 9 servings
- Diet: Vegetarian
Description
These Greek yogurt brownies are rich, moist, and perfectly fudgy with a slight tang that enhances the deep chocolate flavor. Easy to make and incredibly satisfying, they are a lighter twist on a classic dessert.
Ingredients
- 1 cup Greek yogurt
- 1 cup all-purpose flour
- 1/2 cup unsweetened cocoa powder
- 3/4 cup granulated sugar
- 2 large eggs
- 1/2 cup melted butter
- 1 teaspoon vanilla extract
- 1 teaspoon baking powder
- 1/4 teaspoon salt
- 1/2 cup chocolate chips
Instructions
- Preheat your oven to 180°C and line an 8×8 inch baking pan with parchment paper.
- In a mixing bowl, whisk together Greek yogurt, melted butter, sugar, eggs, and vanilla extract until smooth.
- Prepare your baking pan by ensuring it is lined and ready for the batter.
- Add flour, cocoa powder, baking powder, and salt into the wet mixture and stir gently until combined. Fold in chocolate chips.
- Pour the batter into the prepared pan and spread evenly. Bake for 20 to 25 minutes until the center is just set.
- Remove from oven and allow the brownies to cool completely in the pan.
- Slice into squares and serve.
Notes
- Do not overmix the batter to keep the brownies soft and tender.
- For fudgier brownies, slightly underbake and allow them to set while cooling.
- Use high-quality cocoa powder for the best flavor.
- Let brownies cool fully before slicing for clean edges.
- Prep Time: 10 minutes
- Cook Time: 25 minutes
- Category: Dessert
- Method: Baking
- Cuisine: American
Nutrition
- Serving Size: 1 brownie
- Calories: 210
- Sugar: 14g
- Sodium: 120mg
- Fat: 10g
- Saturated Fat: 6g
- Unsaturated Fat: 3g
- Trans Fat: 0g
- Carbohydrates: 26g
- Fiber: 2g
- Protein: 5g
- Cholesterol: 45mg