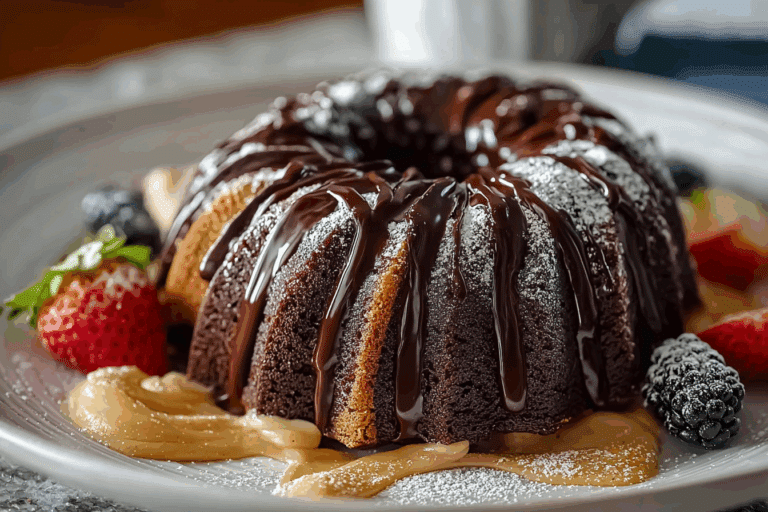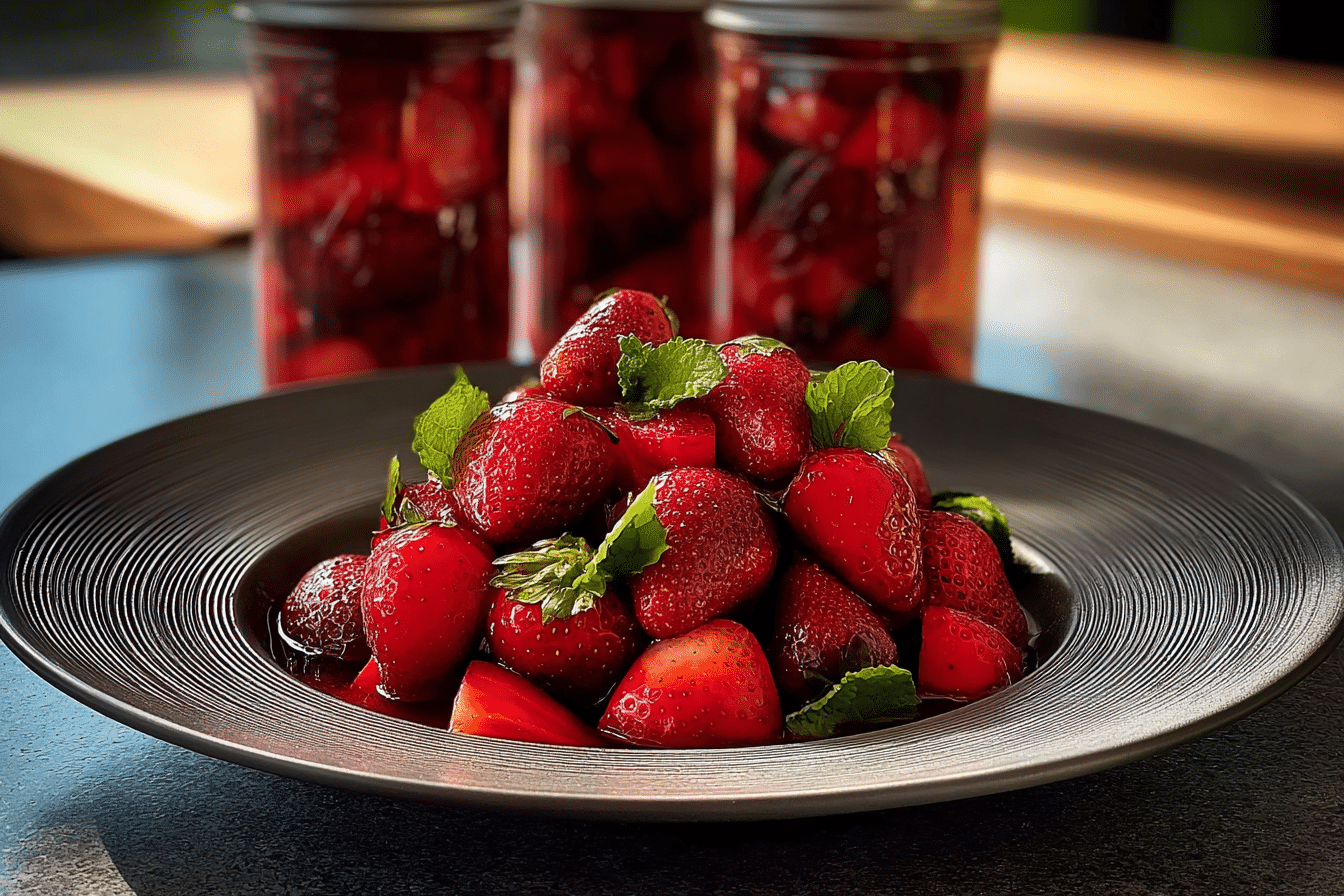
How to Can Strawberries for Year-Round Enjoyment
Learn the art of Canning Strawberries to preserve summer’s sweetness! Enjoy homemade jam or fresh berries year-round with this simple guide that walks you through every step of the canning process.
Why You’ll Love This Recipe
- Preserve Summer Flavor: Enjoy the delightful taste of strawberries long after the season ends.
- Simple Process: Canning strawberries is straightforward and can be done in just a few easy steps.
- Versatile Uses: Use your canned strawberries in desserts, breakfasts, or even savory dishes.
- Cost-Effective: Save money by canning your own strawberries instead of buying store-bought preserves.
- Family Tradition: Turn this canning experience into a fun family activity that everyone can enjoy together.
Ingredients You’ll Need
The ingredients for Canning Strawberries are simple yet essential, each playing a critical role in the final product’s taste and texture. Here’s what you’ll need:
- Fresh strawberries: Choose ripe, juicy strawberries for the best flavor and color.
- Sugar: This enhances the sweetness and helps preserve the strawberries.
- Lemon juice: Adds acidity, which helps balance the sweetness and preserves the bright color.
- Water: Used to create the syrup that will envelop the strawberries.
- Canning jars: Make sure they are sterilized and suitable for canning to ensure safety.
Note: The full ingredients list, including measurements, is provided in the recipe card directly below.
Variations for Canning Strawberries
Don’t hesitate to get creative with your Canning Strawberries! Here are some delightful variations that you can easily adapt:
- Honey Sweetened: Substitute sugar with honey for a natural sweetness and unique flavor.
- Spiced Strawberries: Add a pinch of cinnamon or nutmeg for a warm, aromatic twist.
- Strawberry-Basil: Incorporate fresh basil for a refreshing herbal note.
- Mix with Other Fruits: Combine strawberries with raspberries or blueberries for a mixed berry preserve.
- Vanilla Infused: Add a splash of vanilla extract for a rich, aromatic flavor.

How to Make Canning Strawberries
Step 1: Prepare Your Strawberries
Start by washing your fresh strawberries thoroughly under cold water. Remove the green tops and cut them in half or quarters depending on your preference. This preparation ensures an even distribution of flavor and makes for a beautiful presentation.
Step 2: Make the Syrup
In a medium saucepan, combine water and sugar over medium heat. Stir until the sugar dissolves completely, creating a light syrup that will coat your strawberries. For a twist, you can add lemon juice during this step.
Step 3: Pack the Jars
Carefully spoon the prepared strawberries into your sterilized canning jars, leaving about half an inch of headspace at the top. Pour the warm syrup over the strawberries, ensuring they are fully submerged. This step prevents oxidation and preserves the vibrant color of the berries.
Step 4: Seal the Jars
Wipe the rims of the jars with a clean cloth to remove any residue, then place the sterilized lids on top. Secure them with metal bands, but avoid over-tightening as the jars need to vent during processing.
Step 5: Process the Jars
Place the jars in a boiling water canner or a large pot filled with boiling water. Ensure the jars are submerged under at least an inch of water. Process for about 15-20 minutes, depending on your altitude. This step is crucial for ensuring that your strawberries are safely preserved.
Step 6: Cool and Store
Once processed, carefully remove the jars from the water and let them cool on a clean towel. After a few hours, check the seals by pressing down in the center of the lid; if it pops back, the jar did not seal properly. Store sealed jars in a cool, dark place, and enjoy your canned strawberries all year round!
Pro Tips for Making Canning Strawberries
- Choose Quality Fruit: Always select fresh, ripe strawberries for the best flavor and texture.
- Use a Water Bath: Properly process your jars in a water bath to ensure safety and longevity.
- Inspect Jars: Check for any cracks or chips in jars before use to avoid leaks.
- Label Your Jars: Don’t forget to label your jars with the date and contents to keep track of freshness.
- Experiment: Feel free to try different flavorings and combinations for unique preserves.
How to Serve Canning Strawberries
Garnishes
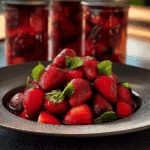
Canned strawberries can be elegantly served atop yogurt, pancakes, or ice cream. A sprinkle of mint leaves or a dollop of whipped cream can elevate your dish, adding freshness and visual appeal.
Side Dishes
Pair your canned strawberries with savory dishes like grilled chicken or pork. The sweetness of the strawberries creates a delightful contrast with savory flavors, making for a well-rounded meal.
Creative Ways to Present
Consider using canned strawberries in a beautiful trifle with layers of sponge cake, cream, and your favorite fruits. You can also blend them into smoothies or use them as a topping for cheesecakes for an exquisite dessert experience.
Make Ahead and Storage
Storing Leftovers
If you have any leftover canned strawberries after serving, simply seal the jars and store them in a cool, dark place. They can last for up to one year if properly sealed and stored.
Freezing
For longer storage, you can freeze strawberries before canning. Flash freeze them on a baking sheet before transferring them to freezer bags, allowing for easy use in smoothies or desserts later on.
Reheating
When ready to use your canned strawberries, simply open the jar and enjoy them cold or heat them gently in a saucepan for a warm topping. You can also use them straight from the jar for quick breakfasts or snacks.
FAQs
Can I can frozen strawberries?
Yes, you can can frozen strawberries, but for the best flavor and texture, fresh strawberries are recommended.
How do I know if my jars sealed properly?
A sealed jar will have a concave lid that does not pop back when pressed. If the lid pops back, refrigerate and consume the contents within a few days.
Can I use other fruits for canning?
Absolutely! Many fruits can be canned using similar methods, such as blueberries, peaches, or cherries.
What should I do with unsealed jars?
If a jar does not seal properly, refrigerate it and consume the contents within a week.
How long can I store canned strawberries?
When stored in a cool, dark place, properly sealed canned strawberries can last up to one year.
Final Thoughts
There you have it! A delightful journey into the world of Canning Strawberries. This simple yet rewarding process allows you to capture the essence of summer and enjoy it year-round. So grab some strawberries, gather your loved ones, and create some delicious memories with this fantastic canning recipe!
Related Posts
- BBQ Brisket Grilled Cheese Sandwich You Can’t Resist
- download kmspico for windows 10 ✓ Activate Windows & Office ➔ 2024 Guide
Canning Strawberries
- Total Time: 35 minutes
- Yield: 4 jars
- Diet: Vegetarian
Description
Learn the art of canning strawberries to preserve summer’s sweetness! Enjoy homemade jam or fresh berries year-round with this simple guide that walks you through every step of the canning process.
Ingredients
Fresh Strawberries
- 4 cups fresh strawberries, hulled and halved or quartered
Sugar
- 2 cups granulated sugar
Lemon Juice
- 1/4 cup lemon juice
Water
- 1 cup water
Canning Jars
- 4 sterilized canning jars with lids
Instructions
- Prepare Your Strawberries: Start by washing your fresh strawberries thoroughly under cold water. Remove the green tops and cut them in half or quarters depending on your preference. This preparation ensures an even distribution of flavor and makes for a beautiful presentation.
- Make the Syrup: In a medium saucepan, combine water and sugar over medium heat. Stir until the sugar dissolves completely, creating a light syrup that will coat your strawberries. For a twist, you can add lemon juice during this step.
- Pack the Jars: Carefully spoon the prepared strawberries into your sterilized canning jars, leaving about half an inch of headspace at the top. Pour the warm syrup over the strawberries, ensuring they are fully submerged. This step prevents oxidation and preserves the vibrant color of the berries.
- Seal the Jars: Wipe the rims of the jars with a clean cloth to remove any residue, then place the sterilized lids on top. Secure them with metal bands, but avoid over-tightening as the jars need to vent during processing.
- Process the Jars: Place the jars in a boiling water canner or a large pot filled with boiling water. Ensure the jars are submerged under at least an inch of water. Process for about 15-20 minutes, depending on your altitude. This step is crucial for ensuring that your strawberries are safely preserved.
- Cool and Store: Once processed, carefully remove the jars from the water and let them cool on a clean towel. After a few hours, check the seals by pressing down in the center of the lid; if it pops back, the jar did not seal properly. Store sealed jars in a cool, dark place, and enjoy your canned strawberries all year round!
Notes
- Choose Quality Fruit: Always select fresh, ripe strawberries for the best flavor and texture.
- Use a Water Bath: Properly process your jars in a water bath to ensure safety and longevity.
- Inspect Jars: Check for any cracks or chips in jars before use to avoid leaks.
- Label Your Jars: Don’t forget to label your jars with the date and contents to keep track of freshness.
- Experiment: Feel free to try different flavorings and combinations for unique preserves.
- Prep Time: 15 minutes
- Cook Time: 20 minutes
- Category: Preserves
- Method: Canning
- Cuisine: American
Nutrition
- Serving Size: 1/4 cup
- Calories: 100
- Sugar: 20g
- Sodium: 0mg
- Fat: 0g
- Saturated Fat: 0g
- Unsaturated Fat: 0g
- Trans Fat: 0g
- Carbohydrates: 25g
- Fiber: 2g
- Protein: 1g
- Cholesterol: 0mg