Beef Jerky
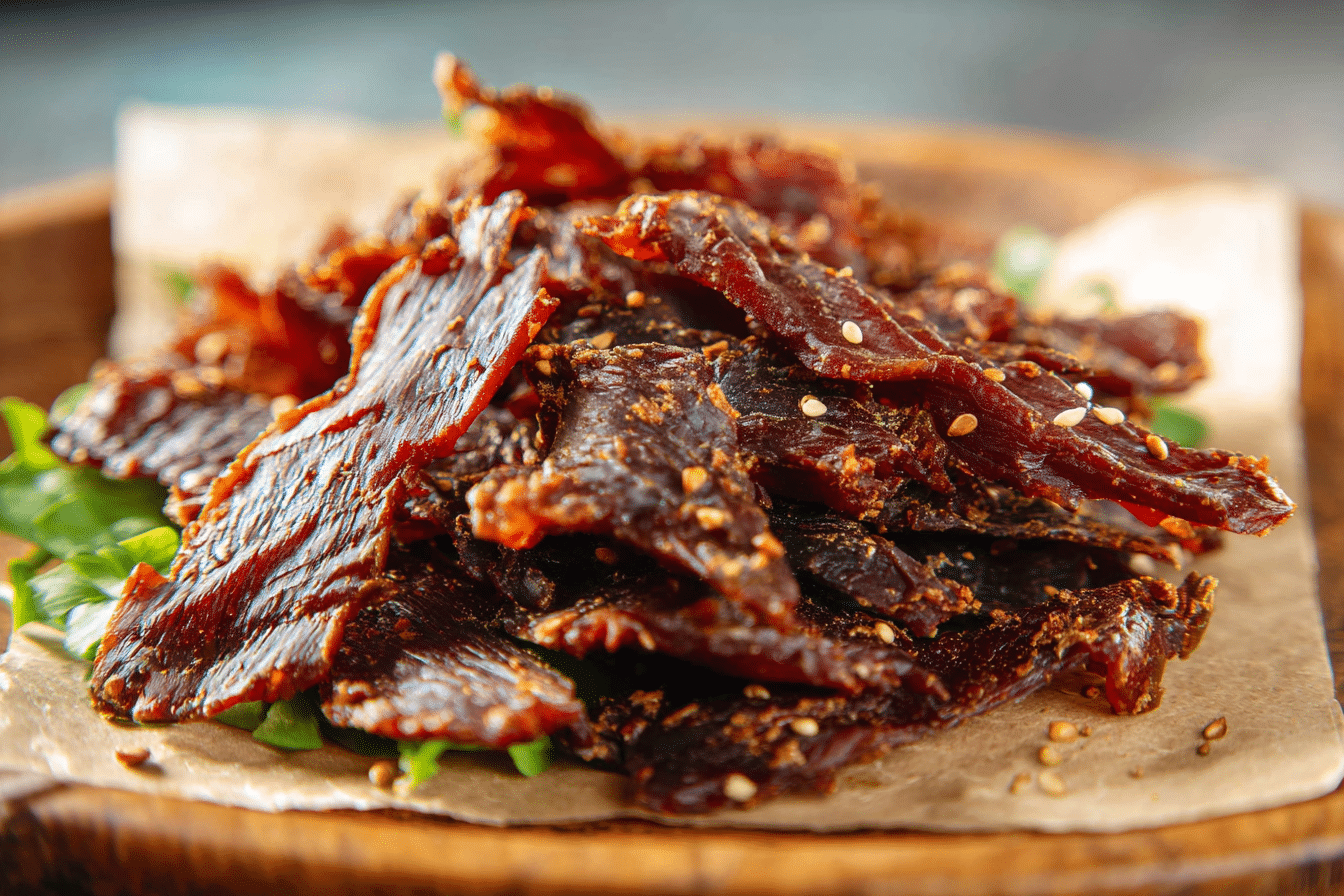
There’s something incredibly satisfying about biting into a piece of homemade beef jerky—slightly chewy, deeply savory, and rich with spices that awaken the senses. The aroma alone can transport you to a campfire evening or a rustic kitchen, where the air is filled with smoky, peppery goodness. Whether you’re prepping for a road trip, packing a protein-rich snack, or simply craving a meaty treat, this recipe delivers that bold punch of flavor and rewarding texture that only real jerky can offer.
Behind the Recipe
This recipe is inspired by my grandfather’s old-school approach to drying meat on the back porch, using nothing but sunlight, patience, and a lot of black pepper. While today’s version embraces modern conveniences like the oven or dehydrator, it still captures that same spirit of homemade tradition. It’s a little nostalgic, a little rugged, and a whole lot delicious.
Recipe Origin or Trivia
Beef jerky has deep roots, tracing back to ancient civilizations who relied on drying meat as a form of preservation. The term “jerky” comes from the Quechua word “ch’arki,” meaning “dried, salted meat.” Indigenous peoples of North and South America used sun and wind to cure meats, often combining them with berries and fat for long journeys. Over time, jerky evolved across cultures, each adding their own blend of spices and techniques, but the soul of the snack remains the same—preserved meat meant to last and satisfy.
Why You’ll Love Beef Jerky
There’s more than just great flavor packed into this snack. Here’s why this beef jerky is a pantry favorite:
Versatile: Great for lunchboxes, hiking trips, or a quick post-gym protein boost.
Budget-Friendly: Much cheaper to make at home than store-bought versions, with premium quality.
Quick and Easy: Minimal prep and mostly hands-off time while it marinates or dehydrates.
Customizable: Adjust spice levels, sweetness, or salt to suit your taste perfectly.
Crowd-Pleasing: A hit with everyone from kids to adults—it’s practically irresistible.
Make-Ahead Friendly: Perfect to prepare in big batches and store for weeks.
Great for Leftovers: Use in stir-fries, wraps, or even salads for a protein kick.
Chef’s Pro Tips for Perfect Results
Want to nail it on the first try? These tips will have your jerky tasting like a pro made it:
- Slice against the grain: For tender bites, always cut your beef strips against the muscle fibers.
- Freeze slightly before slicing: A 30-minute freeze firms up the meat, making it easier to slice evenly.
- Don’t skip marinating time: The longer it sits, the deeper the flavor soaks in.
- Pat dry before drying: Removing excess marinade helps the jerky dehydrate faster and prevents stickiness.
- Keep an eye on it: Check towards the end of drying time, as thickness and oven variations can affect timing.
Kitchen Tools You’ll Need
Before we get to the delicious part, here’s what you’ll need to bring your jerky to life:
Sharp Knife: To slice the beef into even, thin strips.
Cutting Board: Preferably one used only for meats.
Mixing Bowl: To marinate the beef thoroughly.
Zip-Top Bags or Containers: For marinating and storing the jerky.
Baking Sheet + Wire Rack: Helps air circulate during drying in the oven.
Oven or Dehydrator: Essential for removing moisture while preserving flavor.
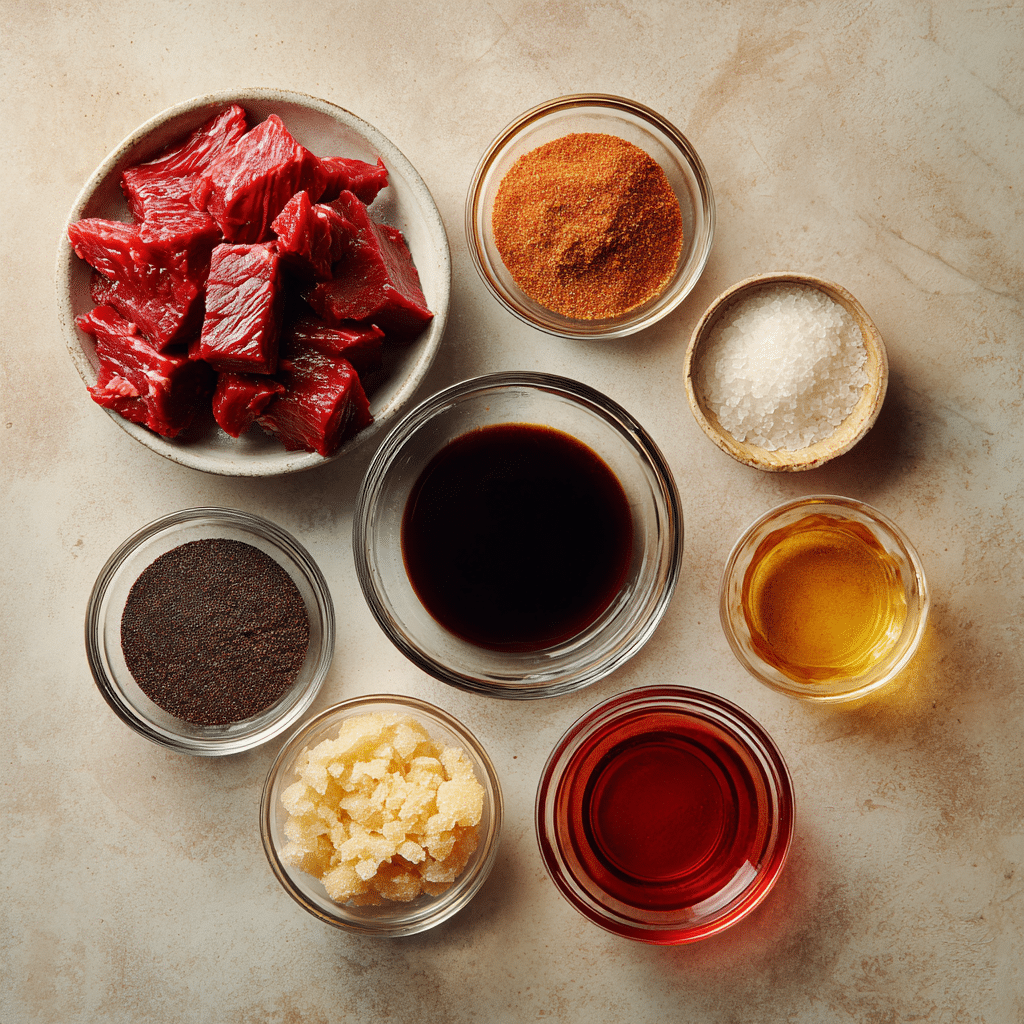
Ingredients in Beef Jerky
Crafting the perfect jerky is about balance—salty, sweet, smoky, and a touch of heat. Here’s your flavor-packed lineup:
- Beef (Top Round or Sirloin): 2 pounds (trimmed of fat) – The leaner, the better to avoid spoilage.
- Soy Sauce: 1/2 cup – Delivers that umami saltiness and depth of flavor.
- Worcestershire Sauce: 1/4 cup – Adds tang and a complex, savory bite.
- Brown Sugar: 2 tablespoons – Brings a slight sweetness to balance the salt.
- Liquid Smoke: 1 teaspoon – Gives that signature smoky flavor without a smoker.
- Black Pepper: 1 teaspoon – For a bit of classic, sharp heat.
- Garlic Powder: 1 teaspoon – Adds aromatic richness and warmth.
- Onion Powder: 1 teaspoon – For savory depth and subtle sweetness.
- Red Pepper Flakes: 1/2 teaspoon – Optional, for a spicy kick.
- Apple Cider Vinegar: 1 tablespoon – Helps tenderize and brighten the meat.
Ingredient Substitutions
Flexibility is the name of the game. If you’re out of something, try these:
Beef: Turkey breast or venison.
Soy Sauce: Coconut aminos for a gluten-free version.
Brown Sugar: Honey or maple syrup.
Apple Cider Vinegar: Rice vinegar or lemon juice.
Liquid Smoke: Smoked paprika for a more natural, less intense smoke.
Ingredient Spotlight
Beef (Top Round): Lean and flavorful, it’s the ideal cut for jerky thanks to its low fat content and tender texture when sliced thin.
Liquid Smoke: Just a drop delivers powerful woodsy notes that mimic real smoked meats—perfect for indoor jerky makers.
Instructions for Making Beef Jerky
Let’s get into the action. Here’s how to turn those ingredients into delicious, chewy strips of protein-packed joy:
- Preheat Your Equipment:
If using an oven, preheat to 175°F (80°C). Line a baking sheet with foil and place a wire rack on top. - Combine Ingredients:
In a large bowl, whisk together soy sauce, Worcestershire, brown sugar, liquid smoke, pepper, garlic powder, onion powder, red pepper flakes, and vinegar. - Prepare Your Cooking Vessel:
Slice beef into 1/8 to 1/4 inch thick strips against the grain. Place in a zip-top bag or container with the marinade. Refrigerate for at least 6 hours or overnight. - Assemble the Dish:
Remove beef from marinade and pat dry with paper towels. Lay strips in a single layer across the wire rack. - Cook to Perfection:
Place in preheated oven or dehydrator. Dry for 3 to 4 hours, flipping halfway, until jerky is dry but still slightly pliable. - Finishing Touches:
Let jerky cool completely at room temperature before storing in airtight containers. - Serve and Enjoy:
Enjoy immediately or stash for later—either way, you’re in for a treat.
Texture & Flavor Secrets
The beauty of beef jerky lies in its contrasts. A slightly chewy exterior gives way to tender, flavorful strands that burst with smoky, salty, sweet, and peppery notes. The drying process intensifies everything, concentrating the marinade’s richness and creating an umami-packed snack you’ll crave again and again.
Cooking Tips & Tricks
Get even better results with these tricks up your sleeve:
- Use a wire rack to let air circulate and dry meat evenly.
- Flip halfway through drying for uniform texture.
- Store in paper bags for a few hours post-drying to eliminate surface moisture before airtight storage.
What to Avoid
Here’s what not to do when jerky’s on the line:
- Skipping the pat dry step: Excess marinade leads to soggy, uneven drying.
- Using fatty cuts: Fat doesn’t dry well and can turn rancid.
- Over-drying: Jerky should bend, not snap—watch it closely near the end.
Nutrition Facts
Servings: 8
Calories per serving: 140
Note: These are approximate values.
Preparation Time
Prep Time: 15 minutes
Cook Time: 4 hours
Total Time: 4 hours 15 minutes
Make-Ahead and Storage Tips
Beef jerky is practically made for make-ahead moments. Prepare a batch, let it cool completely, then store in an airtight container or zip-top bag. It’ll keep for up to two weeks at room temperature, or longer in the fridge. For long-term storage, freeze it in portions and thaw as needed. To reheat or soften slightly, warm gently in the oven at low heat for a few minutes.
How to Serve Beef Jerky
This snack is ready straight from the jar, but why stop there? Serve with mixed nuts for a trail mix upgrade, crumble over salads for a protein punch, or pair with cheese cubes and dried fruit on a charcuterie board. It’s also great tucked into lunchboxes or hiking packs.
Creative Leftover Transformations
If you’ve got jerky leftover (lucky you), try these ideas:
- Dice and add to fried rice or scrambled eggs.
- Rehydrate slightly in warm broth and stir into ramen or noodle soups.
- Chop finely and mix into savory muffins or cornbread for a meat-filled twist.
Additional Tips
- Vacuum seal portions for longer shelf life.
- Let marinade sit an extra hour before adding meat to deepen flavors.
- Use butcher paper between layers when storing to prevent sticking.
Make It a Showstopper
Presentation counts, even with jerky. Stack neatly in mason jars with handwritten labels, or tie parchment packets with twine for rustic, gift-ready bundles. A sprinkle of sesame seeds or chili flakes before drying adds visual appeal and an extra flavor dimension.
Variations to Try
- Teriyaki Jerky: Add 1 tablespoon honey and grated ginger to the marinade.
- Spicy Chipotle: Swap red pepper flakes for chipotle powder and add smoked paprika.
- Sweet Maple: Use maple syrup instead of brown sugar and add a touch of cinnamon.
- Korean-Inspired: Add gochujang and sesame oil to the marinade.
- Garlic-Lovers: Double the garlic powder and add minced fresh garlic.
FAQ’s
Q1. How long does homemade beef jerky last?
Homemade beef jerky lasts up to 2 weeks at room temperature in an airtight container, or 1 month in the refrigerator.
Q2. Can I freeze beef jerky?
Yes, freeze in airtight bags for up to 6 months. Thaw at room temperature before eating.
Q3. Do I need a dehydrator to make jerky?
Nope! An oven set to low temperature with a wire rack works just as well.
Q4. What’s the best cut of meat for jerky?
Top round, bottom round, or sirloin—lean cuts are ideal for preserving and texture.
Q5. How do I know when jerky is done?
It should be dry but still slightly pliable. If it snaps, it’s likely over-dried.
Q6. Is jerky high in protein?
Yes! One serving packs around 9–10 grams of protein, making it a great energy snack.
Q7. Can I make this recipe spicier?
Absolutely—just increase the red pepper flakes or add cayenne pepper.
Q8. Is beef jerky healthy?
In moderation, yes. It’s high in protein and low in carbs, but watch the sodium.
Q9. Can I use ground beef?
You can, but it requires a jerky gun and different preparation—stick to whole cuts for beginners.
Q10. Why is my jerky tough?
It might be sliced too thick or cooked too long. Stick to 1/8 to 1/4 inch slices and monitor drying.
Conclusion
So there you have it—your guide to making irresistibly good beef jerky at home. From the marinade to the drying rack, every step builds flavor and texture that’s worth every bite. Whether you’re gifting it, storing it, or devouring it straight from the rack, this is one recipe you’ll return to again and again. Trust me, you’re going to love this.
Print
Beef Jerky
- Total Time: 4 hours 15 minutes
- Yield: 8 servings
- Diet: Low Fat
Description
Homemade beef jerky that’s chewy, savory, and packed with smoky, bold flavors—perfect for snacking, gifting, or meal-prepping.
Ingredients
- Beef (Top Round or Sirloin): 2 pounds (trimmed of fat)
- Soy Sauce: 1/2 cup
- Worcestershire Sauce: 1/4 cup
- Brown Sugar: 2 tablespoons
- Liquid Smoke: 1 teaspoon
- Black Pepper: 1 teaspoon
- Garlic Powder: 1 teaspoon
- Onion Powder: 1 teaspoon
- Red Pepper Flakes: 1/2 teaspoon (optional)
- Apple Cider Vinegar: 1 tablespoon
Instructions
- Preheat Your Equipment: Preheat oven to 175°F (80°C). Line a baking sheet with foil and place a wire rack on top.
- Combine Ingredients: Mix all marinade ingredients in a large bowl.
- Prepare Your Cooking Vessel: Slice beef into thin strips and marinate in the fridge for at least 6 hours.
- Assemble the Dish: Remove beef, pat dry, and place on the wire rack in a single layer.
- Cook to Perfection: Dry in oven for 3 to 4 hours, flipping halfway through.
- Finishing Touches: Cool completely before storing.
- Serve and Enjoy: Enjoy as is or pack for later snacking.
Notes
- Freeze beef slightly before slicing for easier cutting.
- Use a wire rack to ensure even drying.
- Store in an airtight container for up to 2 weeks at room temp.
- Prep Time: 15 minutes
- Cook Time: 4 hours
- Category: Snack
- Method: Dehydrating
- Cuisine: American
Nutrition
- Serving Size: 1/8 batch
- Calories: 140
- Sugar: 3g
- Sodium: 530mg
- Fat: 4g
- Saturated Fat: 1g
- Unsaturated Fat: 2g
- Trans Fat: 0g
- Carbohydrates: 5g
- Fiber: 0g
- Protein: 10g
- Cholesterol: 35mg